Many hip hop musicians are used to play beats with pad MIDI controllers like Ableton Push, Maschine, or MPC. To be honest, hip hop is not my favorite music style, but I’m envious of their dexterity when playing pads.
Today, I stumbled over Melodics. Melodics is an app like Guitar Hero for Mac and PC. The idea is simple, you are trained to press the right button at the right time in order to create something like music.
The download of the app is free and there are 20 free lessons. The training starts with simple lessons (with kick and snare), but they become more complex with the time.
Yes, it’s really similar to Guitar Hero.
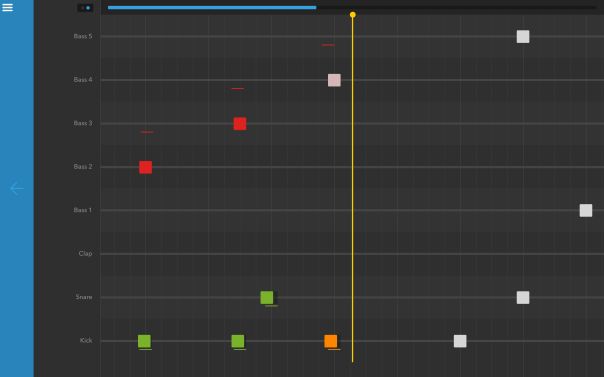
Melodics: guitar hero like interface.
After playing a while, you get a feedback about the precision of your playing. Missed notes and too early or late ones. Gamification, do a job good and reach for that reason the next level.
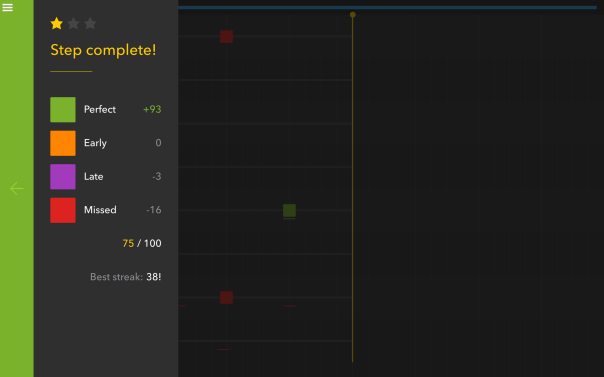
Melodics: guitar hero like interface.
The lessons are labelled with musical styles. You get a short explanation, what’s typical for the actual style. There are even fingering tips for each lesson. Great, although they only make sense when playing complex patters.
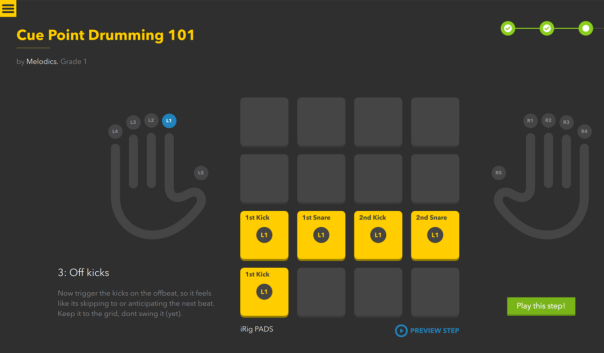
Melodics: guitar hero like interface.
From that perspective, Melodics is like Guitar Hero should be. But what I do miss is the opportunity to create your own stuff with the given samples. An export function or (even better) Ableton Live integration would be nice.
The payment model is not my favourite. You have to pay for month or year. I guess, it’s suitable for beginners, who will – after a few weeks – stop learning with that app and start making their own stuff. For me, occasional users will not be pleased with subscription. I guess, Guitar Hero is paid once, isn’t it?
However, this app makes sense and is really fun. So, give it a try.
alexander


